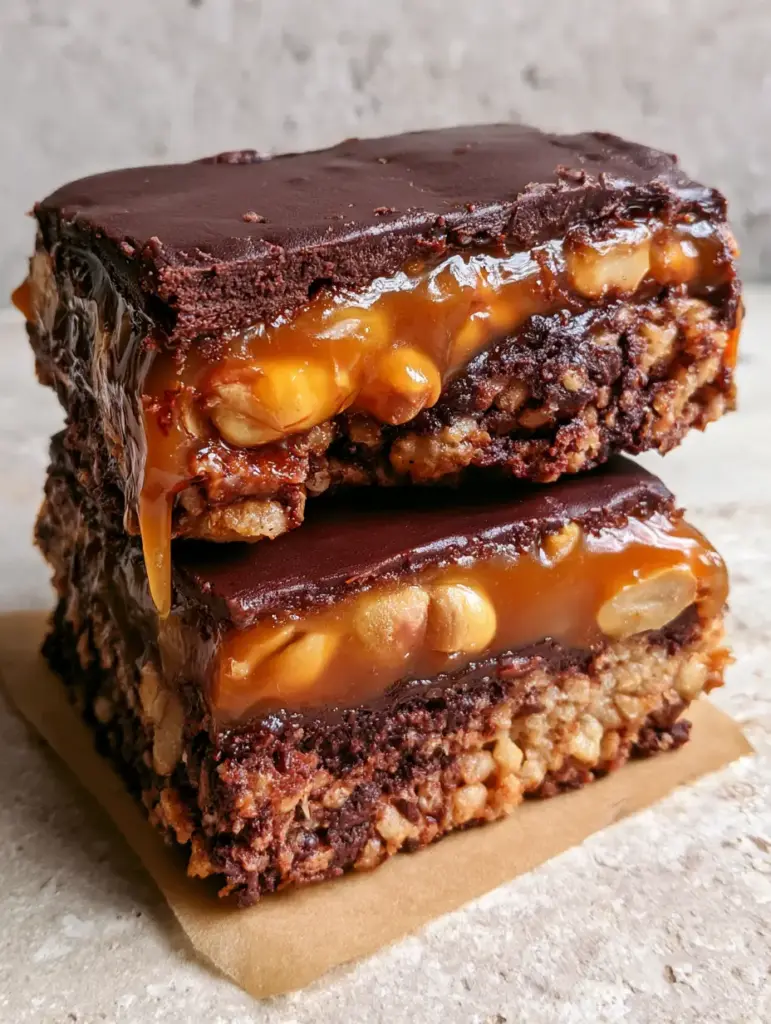
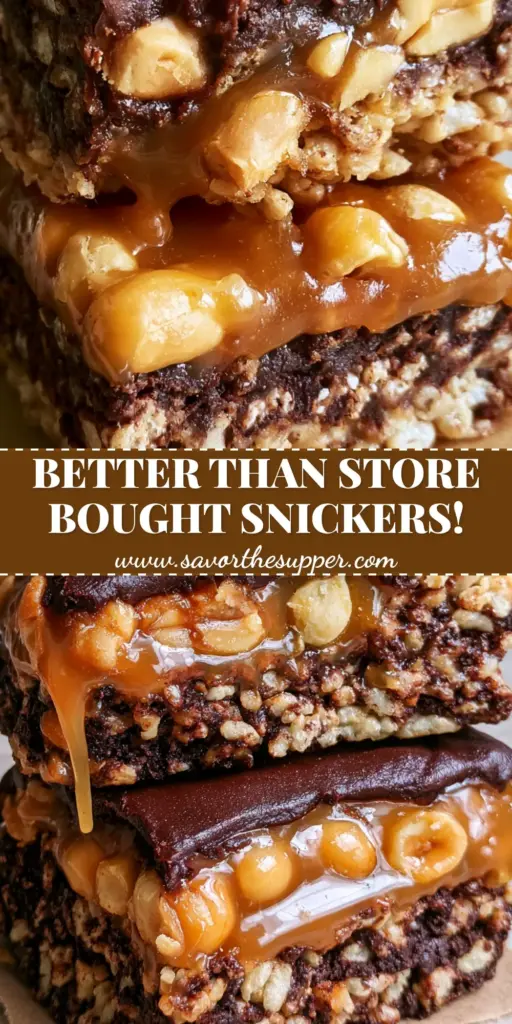
There is a specific kind of magic that happens when deep, dark cocoa meets the nostalgic crunch of puffed rice and the sophisticated pull of a golden caramel drip. These No Bake Crispy Snickers Bars aren’t just a snack; they are a gourmet transformation of a childhood classic, designed to look as stunning on your countertop as they do in a high-end food photography spread. Imagine a thick, dense base that resonates with peanut butter richness, topped with a translucent layer of salted caramel so gooey it threatens to escape the moment you slice into it.
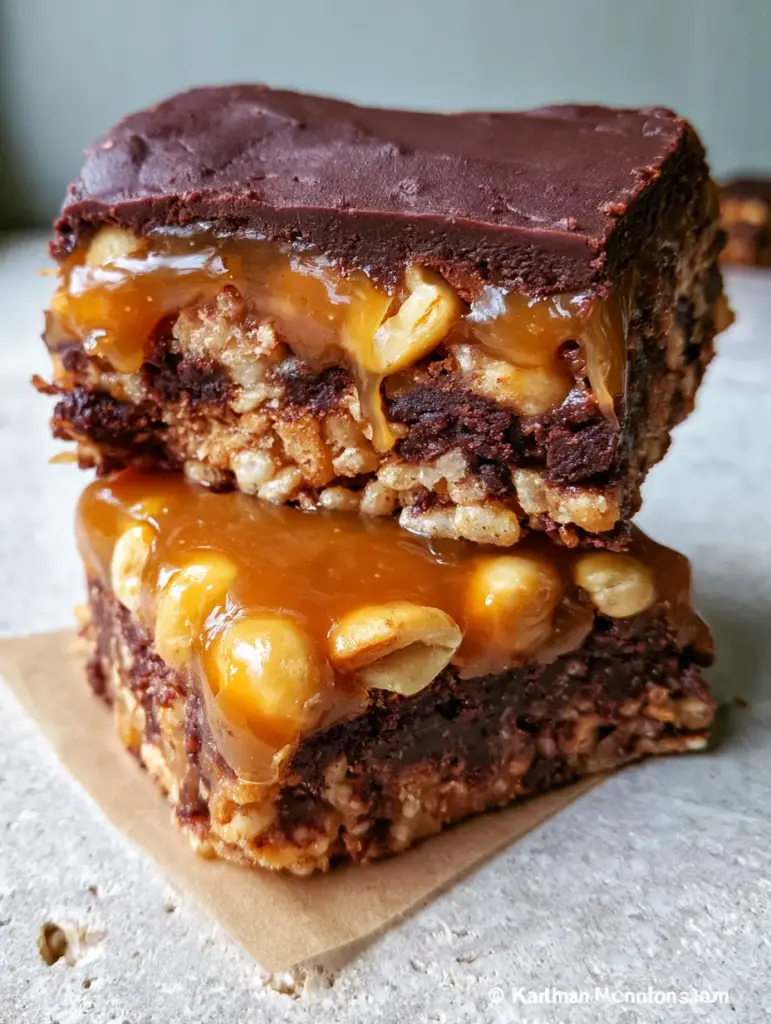
When you hold a slice of these No Bake Crispy Snickers Bars, you’ll notice the matte finish of the dark chocolate ganache against the glistening highlights of the caramel. This recipe was engineered for the enthusiastic home cook who wants maximum visual impact with zero oven time. Whether you are prepping for a weekend gathering or looking for that perfect handheld treat to follow a meal of quick dinner recipes, this bar delivers on every sensory level, from the snap of the chocolate to the slow, appetizing drip of the center.
The Anatomy of an Indulgent Masterpiece: Why This Recipe Works
- Textural Contrast: We pair the airy, shatter-like crunch of puffed rice cereal with the dense, velvety texture of a dark cocoa and peanut butter binding.
- Visual Garnish: The addition of flaky sea salt isn’t just for flavor; it provides a professional, “gourmet” aesthetic that catches the light in photos.
- The Perfect Drip: By balancing the ratio of cream to sugar in our caramel, we achieve a room temperature caramel drip that remains soft and appetizing without becoming a liquid mess.
- Matte Ganache Finish: Unlike a standard chocolate shell that cracks and shatters, our ganache topping is smooth and slightly matte, allowing for clean, beautiful slices every time.
The Gourmet Pantry: Everything You Need for Triple-Layer Success
Puffed Rice Cereal: 3 cups (approx. 75g-100g). This is the structural foundation of our No Bake Crispy Snickers Bars. It provides that signature “snap, crackle, and pop” that balances the weight of the heavier layers.
Creamy Peanut Butter: 1 cup (250g). Use a high-quality, creamy variety to ensure a smooth emulsion with the cocoa. This acts as the primary fat and flavor carrier for the base layer.
Dark Cocoa Powder: 1/2 cup (50g). We use dark cocoa to provide a sophisticated bitterness that cuts through the sweetness of the caramel. It transforms the base from a simple cereal treat into a gourmet dessert.
Thick Gooey Salted Caramel: 1.5 cups (375ml). This is the soul of the bar. It must be thick enough to hold whole peanuts but soft enough to create that iconic slow-motion drip when served at room temperature.
Whole Roasted Peanuts: 1 cup (150g). Roasting is key here. The deep, nutty aroma of roasted peanuts embedded in the caramel provides the essential “Snickers” identity and a necessary crunch.
Dark Chocolate Chips: 1.5 cups (255g). Choose a chocolate with at least 60% cacao. This ensures the topping is rich and matches the intensity of the dark cocoa base.
Coconut Oil or Heavy Cream: 2 tbsp (30ml). This is our “invisible” foundational ingredient. Adding this to the chocolate ensures the top layer remains supple enough to slice without the dark chocolate ganache cracking.
Flaky Sea Salt: 1 tsp (for garnish). A final touch that provides a burst of salinity, elevating the salted caramel and making the chocolate flavors pop.
Essential Tools for the Elite Home Confectioner
To achieve the professional look of the No Bake Crispy Snickers Bars seen in our photography, you’ll need an 8×8 inch (20x20cm) square baking pan. Lining this pan with brown parchment paper is non-negotiable; it prevents sticking and allows you to lift the entire block out for those clean, smartphone-ready slices.
You will also need a heavy-bottomed saucepan for the caramel and cocoa mixture. Even heat distribution prevents the sugar from scorching. A flexible silicone spatula is your best friend here, allowing you to fold the puffed rice gently so it doesn’t crush, preserving that “thick gourmet” internal structure.
Mastering the Layers: Step-by-Step Culinary Instructions
Step 1: Constructing the Cocoa-Peanut Foundation
In a large bowl, combine your puffed rice cereal. In a small saucepan over low heat, melt the creamy peanut butter with the dark cocoa powder and a touch of maple syrup or honey if you desire extra sweetness. Whisk until the mixture is glossy and smooth, resembling a thick chocolate lava.
Pour the chocolate-peanut mixture over the cereal. Use a folding motion to ensure every grain of puffed rice is coated in the dark cocoa mixture. Press this firmly into the bottom of your parchment-lined pan. You want it dense and even, as this supports the weight of the caramel and peanuts above.
Step 2: The Golden Caramel and Roasted Peanut Suspension
If you are making your caramel from scratch, simmer your sugar and cream until it reaches a deep amber hue. Once thickened, fold in the whole roasted peanuts. The peanuts should be fully submerged but visible within the golden gooey salted caramel.
Pour the caramel-peanut mixture over the cooled base. Use the back of a spoon to level it out. At this stage, you should see the roasted peanuts creating a beautiful, bumpy landscape that will be encased in chocolate later. Let this set in the refrigerator for at least 30 minutes to ensure the layers don’t bleed together.
Step 3: The Smooth Matte Ganache Finish
Melt the dark chocolate chips with your coconut oil or cream using a double boiler or short bursts in the microwave. Stir until it is silky and shows no lumps. The oil is what gives us that “slightly matte” finish described in our visual blueprint.
Pour the chocolate over the caramel layer, tilting the pan to ensure it reaches every corner. While the chocolate is still wet, sprinkle the flaky sea salt garnish across the top. This is the moment of peak visual appeal—the white salt crystals against the dark chocolate ganache are striking.
Expert Tips for the Perfect “Smartphone-Ready” Slice
- The Hot Knife Trick: To get those clean, distinct internal layers, dip your sharpest knife in hot water and wipe it dry between every single cut. This melts through the chocolate and caramel without dragging the layers down.
- Temperature Control: Serve these bars at room temperature to achieve the “slow, appetizing drip of caramel.” If served straight from the fridge, the caramel will be too firm to move.
- Don’t Crush the Rice: When pressing the base into the pan, use firm but gentle pressure. If you crush the puffed rice, you lose the “crunchy mixture” texture that makes these No Bake Crispy Snickers Bars so satisfying.
- Roast Your Own: Even if you buy pre-roasted peanuts, giving them 5 minutes in a dry skillet before adding them to the caramel wakes up the oils and dramatically improves the flavor profile.
Storing and Preserving Your Gourmet Bars
These No Bake Crispy Snickers Bars are remarkably stable. They can be stored in an airtight container at room temperature for up to 3 days, which keeps the caramel at its gooiest. For longer storage, keep them in the refrigerator for up to 2 weeks.
If you want to prep these far in advance, they freeze beautifully. Wrap individual slices in parchment paper and store them in a freezer bag. Just remember to let them sit on the counter for 20 minutes before serving to regain that signature caramel drip and soft ganache texture.
What to Pair with No Bake Crispy Snickers Bars
These bars are incredibly rich, so they pair best with items that offer a refreshing contrast. For a balanced afternoon snack, try serving them alongside a crisp cucumber salad recipe or include them as the sweet finale in your adult lunchable ideas.
If you’re hosting a dinner and want a full “no-bake” or “low-effort” theme, these bars are the perfect follow-up to a light zucchini fritters recipe or a hearty baked zucchini parmesan casserole. If you love the combination of vegetables and chocolate, you might even find these a sophisticated cousin to the classic zucchini brownies.
Frequently Asked Questions
Absolutely! Ensure your puffed rice is certified gluten-free, and use a vegan caramel (made with coconut milk) and dairy-free dark chocolate chips.
Yes, you can, but keep in mind that milk chocolate is much sweeter. We recommend dark chocolate to balance the sugar in the caramel and provide that sophisticated matte finish.
The secret is serving the bars at room temperature and using a high-quality, thick caramel. If the caramel is too thin, it will run; if it’s too thick, it won’t move. Aim for a ‘soft ball’ consistency in your caramel.
For the cleanest layers, they need at least 2 hours in the refrigerator. However, for the best eating experience, let them sit at room temperature for 20 minutes before serving.
Chocolate cracks when it is too cold and lacks a softening agent. Always add a small amount of coconut oil or heavy cream to your melted chocolate to create a flexible ganache, and use a hot knife for slicing.
The Ultimate No Bake Crispy Snickers Bars Recipe
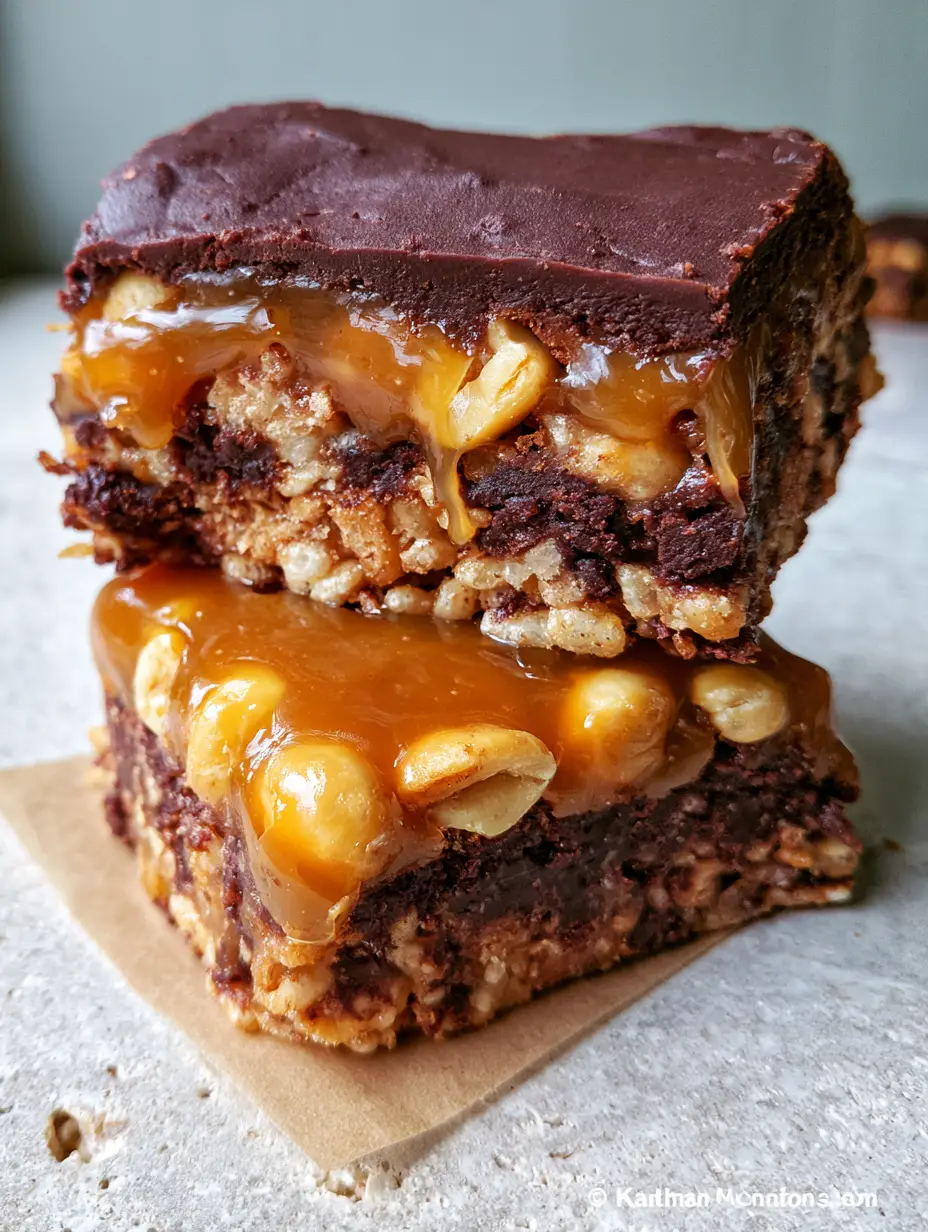
No Bake Crispy Snickers Bars with Gooey Salted Caramel
Ingredients
Equipment
Method
- Melt peanut butter and dark cocoa powder in a saucepan over low heat until smooth. Fold in the puffed rice cereal gently until fully coated.
- Press the mixture firmly into a parchment-lined 8x8 pan to create a dense, even layer.
- Fold whole roasted peanuts into the salted caramel. Pour over the base and smooth with a spatula.
- Refrigerate for 30 minutes to allow the caramel to set slightly before adding the chocolate.
- Melt dark chocolate with coconut oil. Pour over the caramel layer and sprinkle with flaky sea salt.
- Chill until firm, then slice using a hot knife for clean edges. Serve at room temperature for the best caramel drip.
Notes
Serve at room temperature to ensure the caramel has its signature gooey drip.
Join the SavortheSupper Community!
We hope these No Bake Crispy Snickers Bars become a staple in your dessert rotation. There is nothing quite like the satisfaction of a “gourmet” result with “no-bake” effort. If you enjoyed this recipe, please leave a comment below and tell us how your caramel drip turned out!
Don’t forget to snap a photo of your creation and share it with us. For more mouth-watering inspiration and “handheld smartphone-ready” recipes, follow us on Pinterest and pin this recipe to your favorite dessert board!