There is nothing quite like the tactile satisfaction of a fresh, homemade Mochi. If you have ever scrolled through social media and been mesmerized by a handheld photo of a snow-white dough stretching to impossible lengths, you know exactly why this Japanese delicacy is a global obsession. The way the light catches the fine, velvet-like coating of starch and reveals the glossy, translucent “Q-bounce” underneath is pure culinary art.
Achieving that professional-grade, elastic pull-apart state requires more than just mixing flour and water; it is about mastering the science of gelatinization. In this guide, we are going to dive deep into the mechanics of glutinous rice dough to ensure your results are pillowy, soft, and perfectly translucent every single time. Whether you are serving them on a matte sage green ceramic plate or packing them for a treat, these instructions will elevate your dessert game.
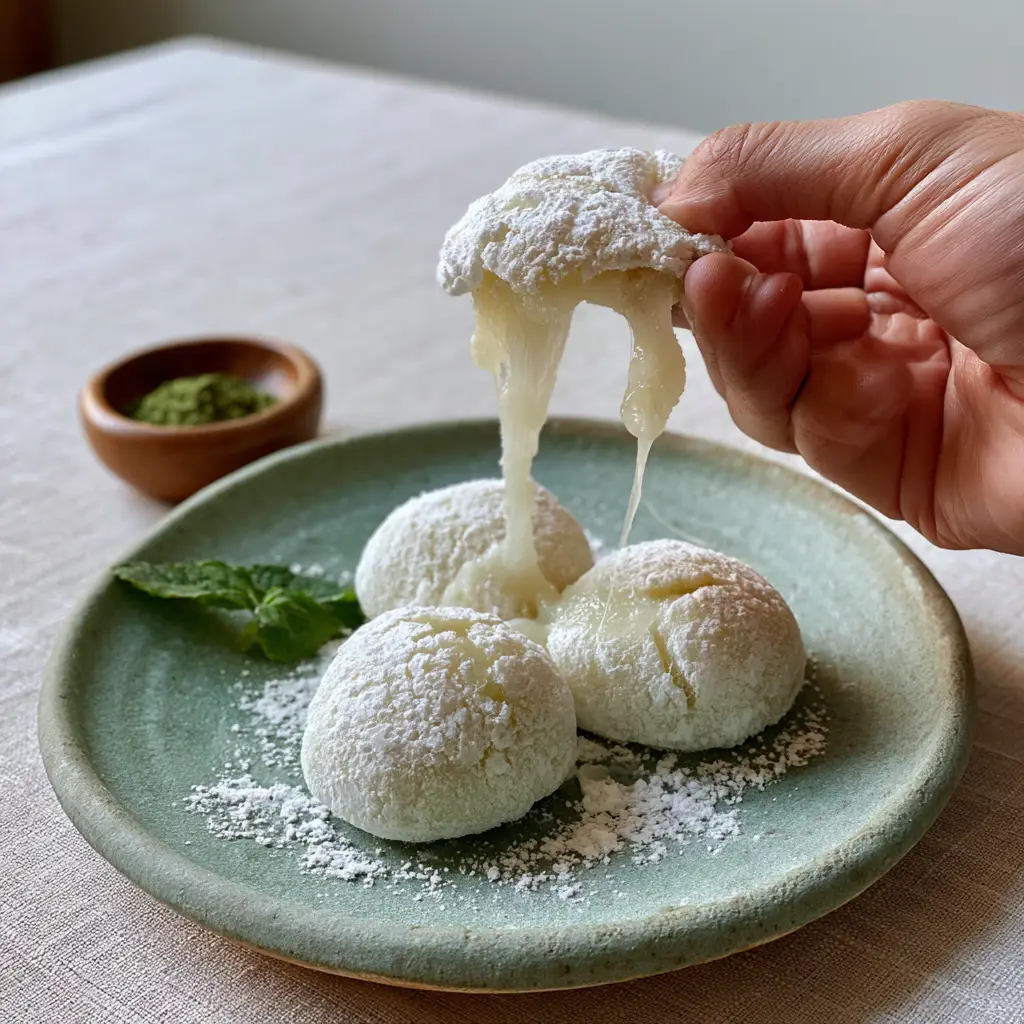
The Science of the Perfect Elastic Mochi Pull
- Incredible Elasticity: We use a high-hydration technique to ensure the dough maintains a “Q-bounce” texture that stays soft for hours.
- Visual Clarity: By properly steaming the dough, we achieve a snow-white, translucent appearance that indicates a fully cooked starch structure.
- The Velvet Finish: A precise dusting of fine white cornstarch prevents sticking while adding a sophisticated, matte visual appeal.
- Handcrafted Presentation: Learn how to plate your three pillowy mounds with a touch of matcha powder for a professional, high-end finish.
The Essential Pantry for Silky, Pull-Apart Dough
Glutinous Rice Flour (Shiratamako or Mochiko): 1.5 cups (200g). This is the foundation of your Mochi; shiratamako provides a more refined, elastic texture, while mochiko offers a denser, doughy bite. Ensure it is specifically “glutinous” or “sweet” rice flour, as regular rice flour will not provide the necessary stretch.
Granulated White Sugar: 1/4 cup (50g). Sugar acts as a tenderizer by interfering with the gluten-like bonds of the rice starch, keeping the dough soft and preventing it from becoming brittle as it cools. It also provides that signature subtle sweetness.
Filtered Water: 1 cup (240ml). Water is the hydrating agent that allows the starch granules to swell and gelatinize during the cooking process. Using filtered water ensures no mineral aftertaste interferes with the delicate rice flavor.
Fine White Cornstarch (for dusting): 1/2 cup (65g). This is used liberally to coat your work surface and the dough itself. It creates that velvet-like coating that catches the light and allows for easy handling without the dough sticking to your fingers.
Matcha Powder & Mint Leaf (for garnish): 1 tsp (2g) matcha. While optional for flavor, a pinch of matcha in a tiny wooden bowl and a single mint leaf provides the visual “pop” of color seen in professional food photography.
Invisible Foundation: Neutral Oil: 1 tsp (5ml). A tiny amount of neutral oil (like grapeseed) can be used to lightly grease your steaming bowl, ensuring the sticky dough releases effortlessly once cooked.
Must-Have Tools for a Tactile Dessert Experience
To achieve the “Q-bounce” and that ultra-soft texture, you will need a few specific kitchen tools. A heat-proof glass bowl is essential for even steaming or microwaving. You will also need a sturdy silicone spatula; the dough becomes incredibly heavy and sticky, and a flexible, non-stick spatula is the only way to effectively “fold and stretch” the mass.
For the authentic presentation, prepare a matte-textured sage green ceramic plate and a small wooden bowl for your garnishes. A fine-mesh sieve is also recommended for applying the “velvet-like” dusting of cornstarch evenly over the dough mounds without clumps.
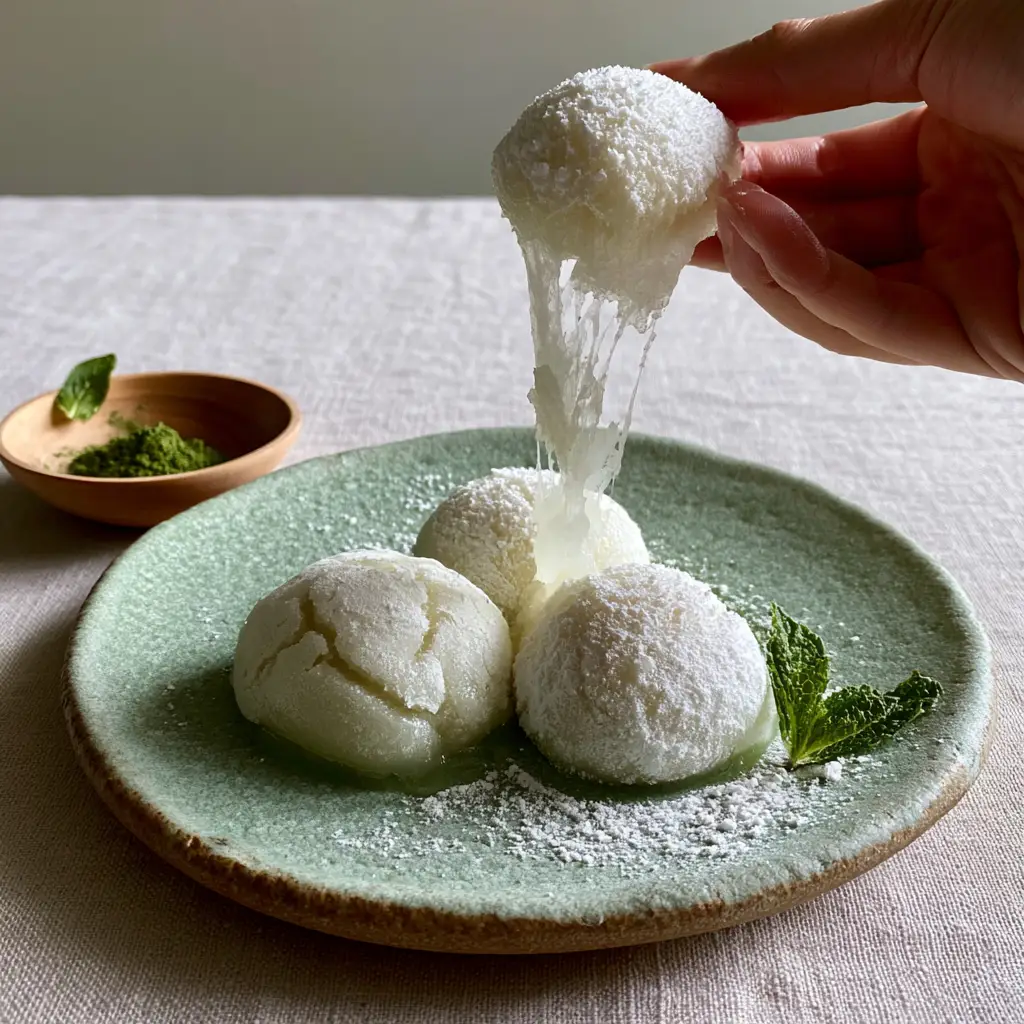
Step-by-Step Evolution of Stretchy Rice Dough
Hydrating the Rice Starch
In your heat-proof glass bowl, whisk together 1.5 cups (200g) of glutinous rice flour and 1/4 cup (50g) of granulated sugar. Slowly stream in 1 cup (240ml) of filtered water while whisking constantly to prevent lumps. The mixture should look like a thin, opaque white milk with no visible dry spots.
The Transformation: Steaming to Translucency
Cover the bowl with a lid or heat-safe wrap and place it in a steamer basket over boiling water for 15-20 minutes. Alternatively, microwave in 60-second bursts, stirring vigorously between each. You are looking for a specific visual cue: the dough will transition from opaque white to a glossy, translucent, off-white state. It should look “heavy” and pull away from the sides of the bowl in one cohesive, elastic mass.
Developing the “Q-Bounce” Stretch
Once cooked, use your silicone spatula to “beat” the dough for 2-3 minutes while it is still hot. This mechanical action develops the long-chain starch molecules, resulting in that incredible, elastic stretch. Fold the dough over itself repeatedly until it becomes shiny and difficult to pull apart.
Dusting and Shaping the Pillowy Mounds
Generously coat a clean work surface with fine white cornstarch. Turn the hot dough onto the starch, ensuring every surface is covered in a velvet-like coating. Pinch off three equal portions and roll them into perfectly round, pillowy mounds. Use a light touch to avoid compressing the internal air bubbles that give Mochi its squishy nature.
Expert Tips for Professional Mochi Success
- Temperature Control: Always handle and shape the dough while it is still warm; once it cools completely, it becomes less pliable and harder to smooth into perfect mounds.
- Sieve for Success: Use a fine-mesh sieve to apply the cornstarch dusting to ensure it catches the light beautifully and doesn’t look chalky.
- Moisture Balance: If your dough is too sticky to handle even with starch, your ratio of water may be too high—ensure you are using level measuring cups.
- Visual Texture: Look for small, delicate cracks in the starch coating when you pull the dough; this is a sign of perfectly hydrated, “snow-white” dough.
Preserving the Tactile Squish: Storage & Reheating
Fresh Mochi is best enjoyed within a few hours of making when the “Q-bounce” is at its peak. If you have leftovers, wrap each mound tightly in plastic wrap to prevent the starch from drying out. Store at room temperature for up to 2 days; avoid the refrigerator as the cold temperature causes the starch to recrystallize, making the dough hard and brittle.
To revive day-old dough, you can lightly steam the mounds for 1-2 minutes until they regain their elasticity. If you are looking for more unique desserts to round out your table, consider serving these alongside some decadent zucchini brownies or even some banana quark balls for a variety of textures.
What to Serve with Soft Homemade Mochi
This traditional treat pairs beautifully with light, refreshing sides that cleanse the palate. For a full afternoon tea spread, consider a crisp chilled cucumber salad or perhaps some adult lunchable ideas for a sophisticated snack platter. If you are serving this as part of a larger meal, it follows beautifully after a savory dish like sizzling chicken fajitas.
The neutral, sweet profile of the rice dough also makes it a great companion to fruit-forward dishes. Try serving it alongside a vibrant vegetable gratin during a seasonal brunch. The contrast between the squishy, sweet dough and a savory, crunchy side is always a hit with guests.
Frequently Asked Questions
No. Regular rice flour lacks the specific amylopectin content required to create the stretchy, sticky dough. You must use glutinous (sweet) rice flour like Shiratamako or Mochiko.
Use a generous amount of fine white cornstarch or potato starch (katakuriko). Coat your hands, the work surface, and the dough itself to create a non-stick, velvet-like barrier.
Look for a visual change: the dough should transform from an opaque, milky white to a semi-translucent, glossy off-white color and form a singular cohesive mass.
Q-bounce refers to the ideal Asian culinary texture that is elastic, chewy, and slightly resistant to the bite without being tough. In Mochi, it is achieved by vigorously beating the cooked dough.
Mochi typically turns hard if it wasn’t cooked long enough to fully gelatinize the starch, or if it was stored in the refrigerator, which causes the starch to crystallize.
The Ultimate Homemade Mochi Recipe
Mochi: The Ultimate Guide to Perfect, Stretchy Homemade Rice Cakes
Ingredients
Equipment
Method
- Whisk glutinous rice flour, sugar, and water in a heat-proof glass bowl until a smooth, opaque white liquid forms.
- Steam for 15-20 minutes or microwave in bursts until the dough is glossy, translucent, and incredibly sticky.
- Vigorously beat the hot dough with a silicone spatula for 2 minutes to develop the elastic 'Q-bounce' stretch.
- Turn the dough onto a surface dusted with fine white cornstarch. Roll into three pillowy mounds, ensuring a velvet-like coating.
- Place the three mounds on a matte sage green ceramic plate. Garnish with a tiny wooden bowl of matcha and a mint leaf.
Notes
Store at room temperature in airtight wrap to keep it soft.
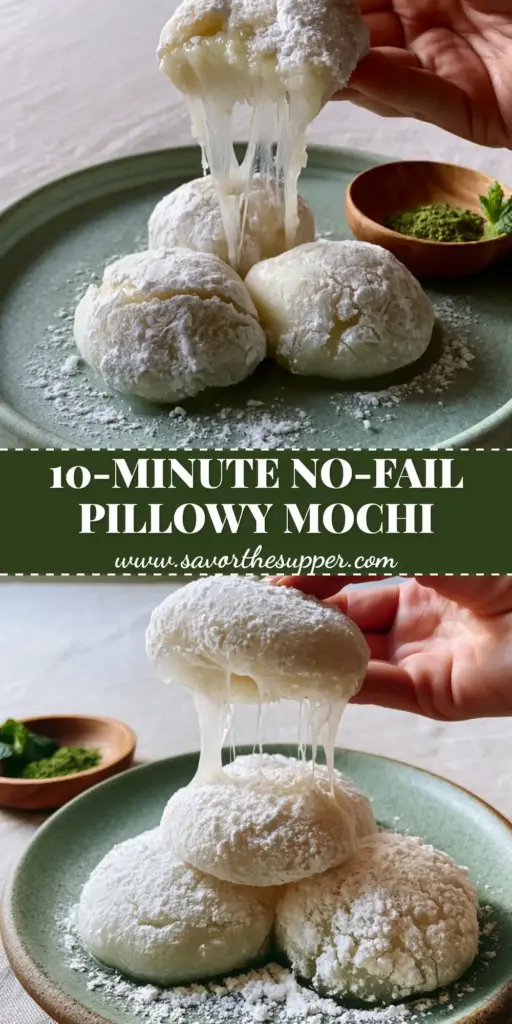
Join the Savor the Supper Community!
We hope this guide helps you master the art of the perfect Mochi stretch! There is nothing more rewarding than seeing that snow-white dough come to life in your own kitchen. If you enjoyed this recipe, please leave a comment below and tell us how your “Q-bounce” turned out!
Don’t forget to follow us on Pinterest for more visual recipe inspiration and share your handheld snaps with us. Sign up for our newsletter to receive the latest elite recipes delivered straight to your inbox!