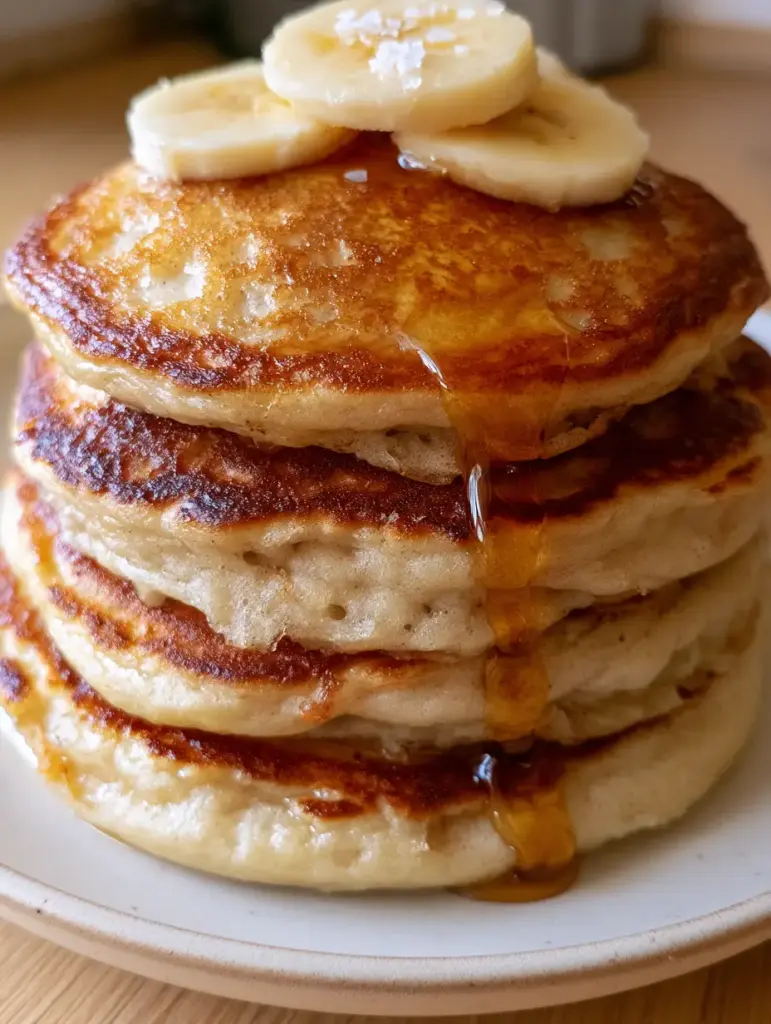
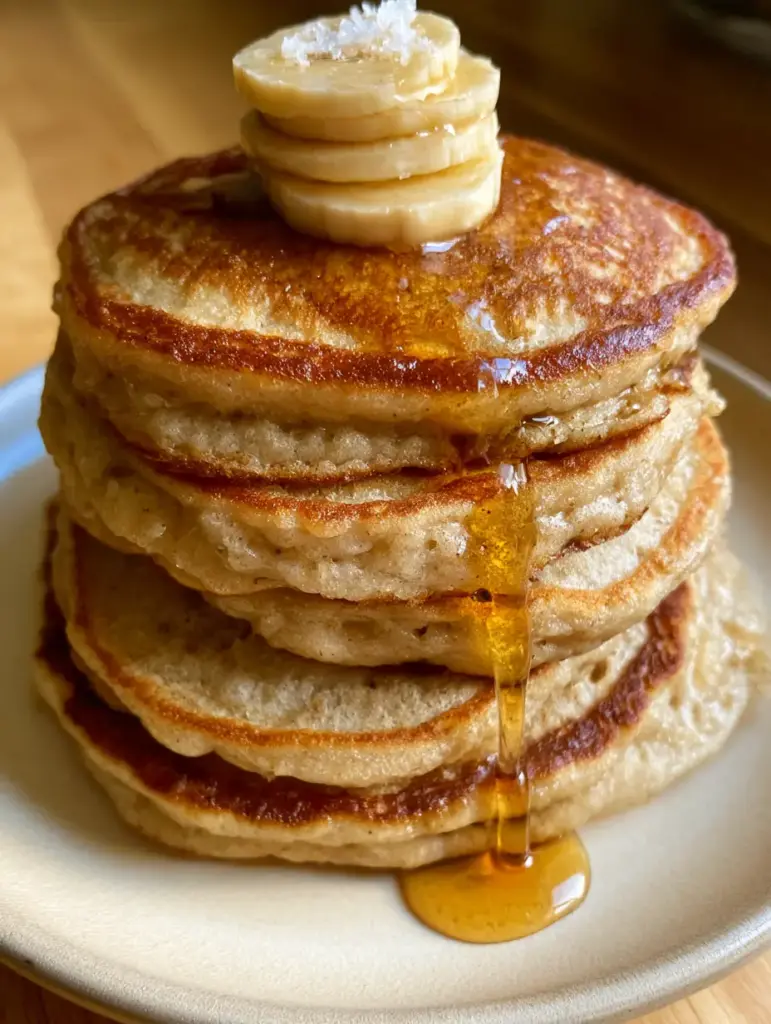
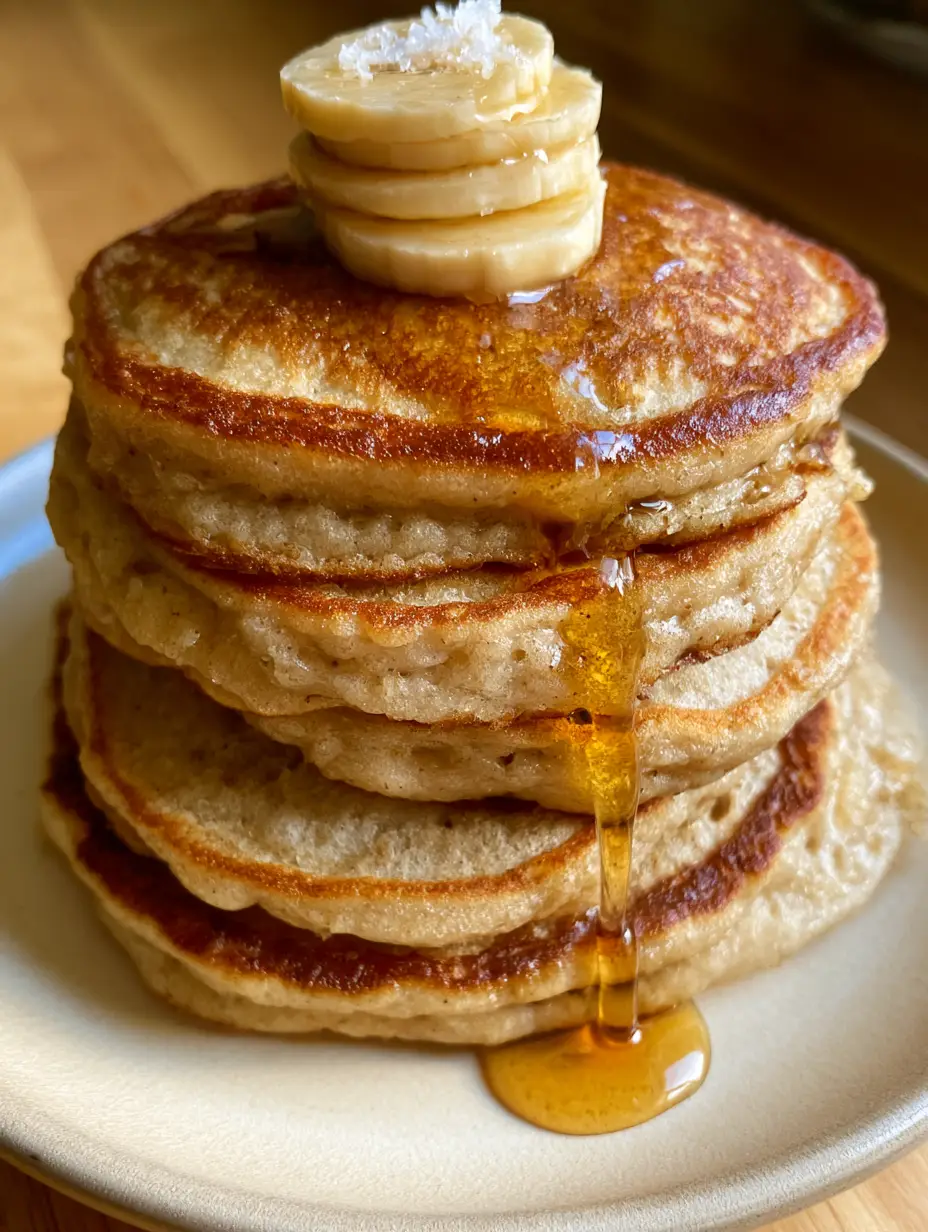
The quest for the ultimate banana pancakes recipe ends here. Imagine cutting into a tall stack of four ultra-thick pancakes, where the exterior boasts a lacy, golden-brown sear and the interior reveals a sponge-like, aerated crumb that practically melts in your mouth.
This isn’t just another breakfast; it’s a masterclass in culinary texture. We are moving beyond the flat, heavy discs of the past to create a breakfast experience that mirrors the artisanal quality of a high-end bistro.
Whether you are a weekend warrior in the kitchen or looking for a comforting weekday luxury, this recipe delivers on every sensory promise. From the glistening amber drip of maple syrup to the sharp contrast of coarse sea salt against sweet banana coins, every element is designed for maximum impact.
Why This Is the Only Banana Pancakes Recipe You Will Ever Need
- The “Lacy Edge” Technique: We utilize a specific fat-to-heat ratio to ensure every pancake has a crispy, seared perimeter that provides a satisfying crunch.
- Vertical Aeration: By balancing specific leavening agents with acidic buttermilk, we achieve a tall, steaming stack that maintains its height without collapsing.
- Sponge-Like Interior: Our folding method ensures the banana is incorporated without weighing down the batter, resulting in a visible, airy texture inside.
- The Sweet-Salty Balance: The addition of a coarse sea salt finish elevates the natural sugars of the banana and the richness of the maple syrup.
- Professional Clarity: This recipe is written with scientific precision, using dual-unit formatting for guaranteed success in any kitchen worldwide.
The Foundation: Essential Ingredients for Fluffiness
All-Purpose Flour (250g / 2 cups): This provides the structural protein needed to hold the air bubbles produced by our leavening agents. It ensures the pancakes are thick rather than spreading too thin on the griddle.
Over-Ripe Bananas (225g / 2 medium): Use bananas with plenty of brown spots. These provide the natural sugars that caramelize during the sear, creating those signature golden-brown edges.
Baking Powder (10g / 2 tsp) & Baking Soda (3g / 0.5 tsp): This duo works together to create immediate lift and a secondary rise when the batter hits the heat. This is the secret to the aerated fluffy pancake interior.
Full-Fat Buttermilk (240ml / 1 cup): The acidity in buttermilk reacts with the baking soda to create carbon dioxide. This chemical reaction is what gives the pancakes their sponge-like, airy texture.
Melted Unsalted Butter (56g / 4 tbsp): Fat equals flavor and tenderness. Adding butter to the batter inhibits excessive gluten development, ensuring the pancakes stay soft and tender.
Large Egg (50g / 1 unit): The egg acts as a binder and provides additional structure. It helps the pancakes maintain their “tall stack” integrity when piled high on a plate.
Pure Vanilla Extract (5ml / 1 tsp): A foundational aromatic that bridges the gap between the earthy banana and the sweet maple syrup. If you are a fan of these flavors, you might also enjoy our banana pudding latte (coming soon).
Coarse Sea Salt (2g / 0.5 tsp): Used both in the batter and as a finishing touch. The large grains provide a localized burst of flavor that cuts through the richness of the dish.
Precision Equipment for a Professional Sear
To achieve the seared golden-brown pancake batter described in our visual blueprint, you need the right tools. A heavy-bottomed cast iron skillet or a non-stick electric griddle is essential for even heat distribution.
You will also need a wide stainless steel spatula. A thin, flexible turner allows you to get under the lacy edges without tearing the delicate, aerated structure of the pancake.
Finally, a wire cooling rack is helpful if you are making a large batch. Placing finished pancakes on a rack prevents the bottom from becoming soggy due to trapped steam, keeping that lacy edge crisp.
Mastering the Batter: Step-by-Step Instructions
Phase 1: The Dry Ingredient Aeration
In a large mixing bowl, whisk together the flour, sugar, baking powder, baking soda, and salt. Use a vigorous whisking motion for about 30 seconds to incorporate air into the dry mix.
This step ensures that the leavening agents are perfectly distributed. This prevents “hot spots” of baking soda that can cause a bitter aftertaste or uneven rising.
Phase 2: The Banana Emulsion
In a separate bowl, mash the bananas until they reach a thick, liquid consistency with only very small chunks remaining. Whisk in the egg, buttermilk, vanilla extract, and melted butter.
Ensure the buttermilk and egg are at room temperature. If they are too cold, they will cause the melted butter to seize and clump, which ruins the uniformity of the batter.
Phase 3: The Gentle Fold
Pour the wet ingredients into the dry ingredients. Use a silicone spatula to gently fold the mixture together. Stop the moment you no longer see streaks of dry flour.
Over-mixing is the enemy of the banana pancakes recipe. A lumpy batter is a good batter; those lumps will hydrate and disappear during the cooking process, leaving behind a light and airy crumb.
Executing the Perfect Golden-Brown Sear
The Temperature Test
Heat your skillet over medium-low heat. To test the temperature, flick a few drops of water onto the surface; they should dance and evaporate within two seconds.
Add a small pat of butter to the pan. It should sizzle and foam immediately but not turn brown. This “foaming” butter is what creates the lacy, fried edges of the pancake.
The Pour and Pivot
Ladle approximately 1/3 cup (80ml) of batter per pancake. Do not crowd the pan; leave enough room to flip without disturbing the neighboring pancakes.
Watch for the visual cues: bubbles will begin to form on the surface and the edges will look set and matte. This is the moment to flip. The underside should be a deep, seared golden-brown.
The Final Rise
Flip the pancake in one confident motion. Cook for another 1-2 minutes. You will see the pancake “puff up” vertically as the heat hits the center, creating that aerated fluffy pancake interior.
Transfer the stack to a matte ceramic plate. Stack them high—four is the magic number for a “tall, steaming stack.”
Expert Tips for Ultimate Pancake Success
- The Resting Period: Let your batter rest for 5-10 minutes before cooking. This allows the flour to fully hydrate and the leavening agents to begin their work.
- Don’t Press Down: Never press the pancake with your spatula after flipping. This collapses the air pockets you’ve worked so hard to create.
- Wipe the Pan: Between batches, wipe the skillet clean and add fresh butter. Burnt butter residue will make your pancakes look blotchy and taste bitter.
- Banana Slicing: Slice your fresh banana rounds just before serving to prevent browning. Overlap them neatly as a “crown” on the top pancake.
How to Store, Reheat, and Freeze
If you have leftovers, these pancakes store remarkably well. Place them in an airtight container with parchment paper between layers to prevent sticking. They will stay fresh in the refrigerator for up to 3 days.
For long-term storage, freeze the pancakes on a baking sheet before transferring them to a freezer bag. They can be toasted directly from frozen, which helps revive those lacy, crispy edges.
To reheat a large stack, wrap them in foil and place them in a 350°F (175°C) oven for 10 minutes. This method preserves the “steaming” moisture of the interior without drying out the exterior.
Creative Pairings for Your Pancake Breakfast
While this banana pancakes recipe is a star on its own, it pairs beautifully with other breakfast staples. For a savory contrast, serve them alongside crispy bacon or a light cucumber salad if you prefer a fresh brunch side.
If you love the flavor profile of this dish, consider incorporating these bananas into other baked goods. Our banana bread muffins offer a similar comfort, or you could try a banana pudding tiramisu for a decadent dessert.
For those looking for a different breakfast texture entirely, our zucchini fritters provide a wonderful savory alternative to the sweet pancake stack.
Frequently Asked Questions
Yes, you can use frozen bananas, but you must thaw them completely and drain any excess liquid first. Excess moisture from frozen bananas can ruin the thick, aerated structure of the pancake batter.
The secret is using a combination of a well-heated cast iron skillet and a generous amount of butter. The butter should be bubbling when you pour the batter, which effectively fries the edges of the pancake while the center steams.
Place a wire rack on a baking sheet and keep it in an oven set to 200°F (95°C). The wire rack allows air to circulate, preventing the ‘steaming’ effect that makes stacked pancakes soggy.
Mushiness is usually caused by using too much mashed banana or not cooking the pancakes long enough on low-medium heat. Ensure you measure exactly 225g of banana and use a skillet that isn’t too hot, allowing the center to set before the outside burns.
This is often due to over-mixing the batter, which develops gluten and pops air bubbles. Additionally, check that your baking powder and soda are fresh; if they are older than six months, they may have lost their lifting power.
The Ultimate Fluffy Banana Pancakes
Banana Pancakes Recipe: The Secret to Ultra-Thick, Fluffy Stacks
Ingredients
Equipment
Method
- In a large bowl, whisk together flour, baking powder, baking soda, and salt until aerated.
- In a separate bowl, mash the ripe bananas and whisk with buttermilk, egg, melted butter, and vanilla.
- Gently fold the wet ingredients into the dry until just combined; do not overmix.
- Heat a buttered skillet over medium heat until a drop of water dances on the surface.
- Pour 1/3 cup of batter and cook until bubbles form on top and edges look matte. Flip to reveal a golden-brown sear.
- Stack 4 pancakes high and top with banana slices, a drizzle of syrup, and a pinch of coarse salt.
Notes
Use room temperature buttermilk to prevent the melted butter from clumping in the batter.
Start Your Morning with a Perfect Stack
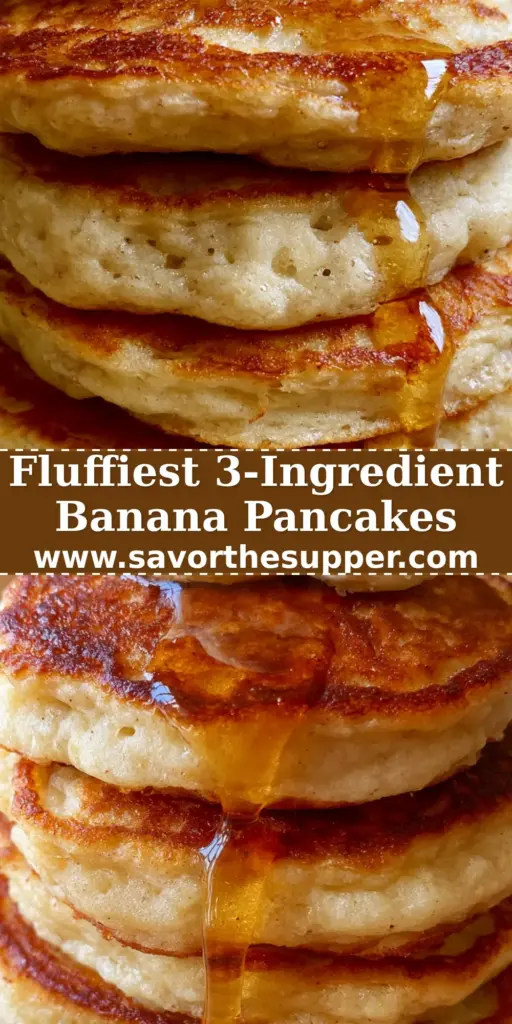
There is nothing quite like the aroma of searing banana batter and vanilla wafting through a kitchen. This banana pancakes recipe is designed to bring a sense of luxury and culinary achievement to your breakfast table.
We encourage you to experiment with your toppings—perhaps a handful of walnuts or a dusting of cinnamon. If you enjoyed this recipe, please leave a comment below and share your results!
Don’t forget to follow us on Pinterest and save this recipe to your “Breakfast Goals” board for your next slow Sunday morning.